
How to Turn a Photo Into a Paint by Number (Free)
To turn a photo into a paint by number, upload it to a converter, reduce it to 8–24 flat colours, and print the numbered board it generates. Fill it in with paint — or with numbered stickers, which are far easier for kids.
That is the whole process in one paragraph. The rest of this guide is the part the generator sites skip: which photos actually convert well, how many colours to pick, what to do when the result looks like mud, and how to end up with something a 4-to-12-year-old can genuinely finish.
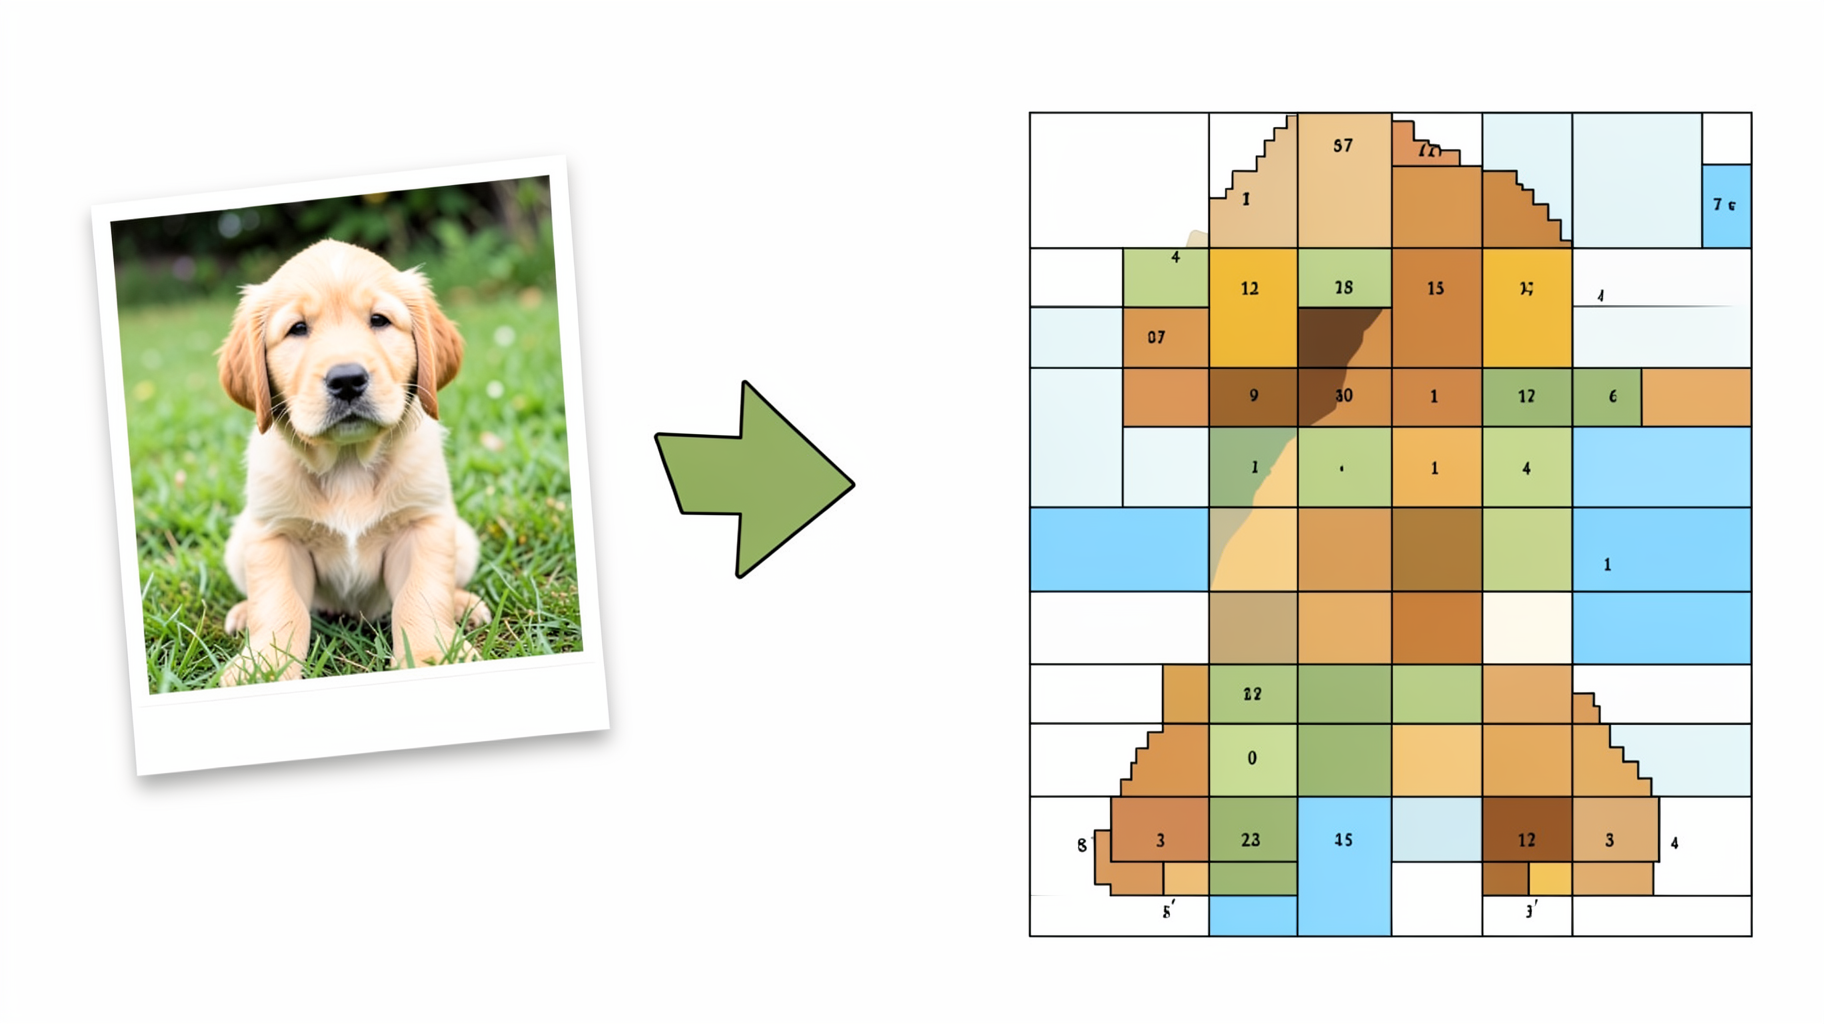
Which photo-to-paint-by-number tool should you use?
There are more of these than you would expect, and they are not interchangeable. Here is an honest read on the main ones.
| Tool | What it gives you | Cost | Best at | Weak spot |
|---|---|---|---|---|
| PBNify | Printable numbered outline + colour key | Free | Fast, no sign-up, works in the browser | Outline only — no pieces, no play, no sharing |
| Davincified | Numbered canvas, 16–80 colours | Free tier + paid kits | Very fine colour control on portraits | High colour counts get fiddly for kids |
| paint-by-number.com | Printable template, upsells to a canvas kit | Free generator | Nice preview before you commit | Built to sell you a physical kit |
| Custom kit sellers | Printed canvas, paint pots, brushes shipped to you | $25–50 per photo | A real gift-quality object | Slow, single-use, expensive per picture |
| QrdyCraft | Numbered board + sticker sheet and an online drag-and-drop version with its own link and QR code | 100 free mosaics a month | Kids 4–12, no mess, sharing a mosaic with someone else | Mosaic-style output, not a fine-art painting canvas |
Two things worth saying plainly. First, PBNify and Davincified are good at the one job they do, they have been doing it for years, and if a printable numbered outline is genuinely all you need, they will get you there in a minute for free. Second, none of them produce something a child can play before anything is printed, and none of them give you a link you can hand to another person. That gap is the reason we built QrdyCraft the way we did.
How the conversion actually works, in 3 steps
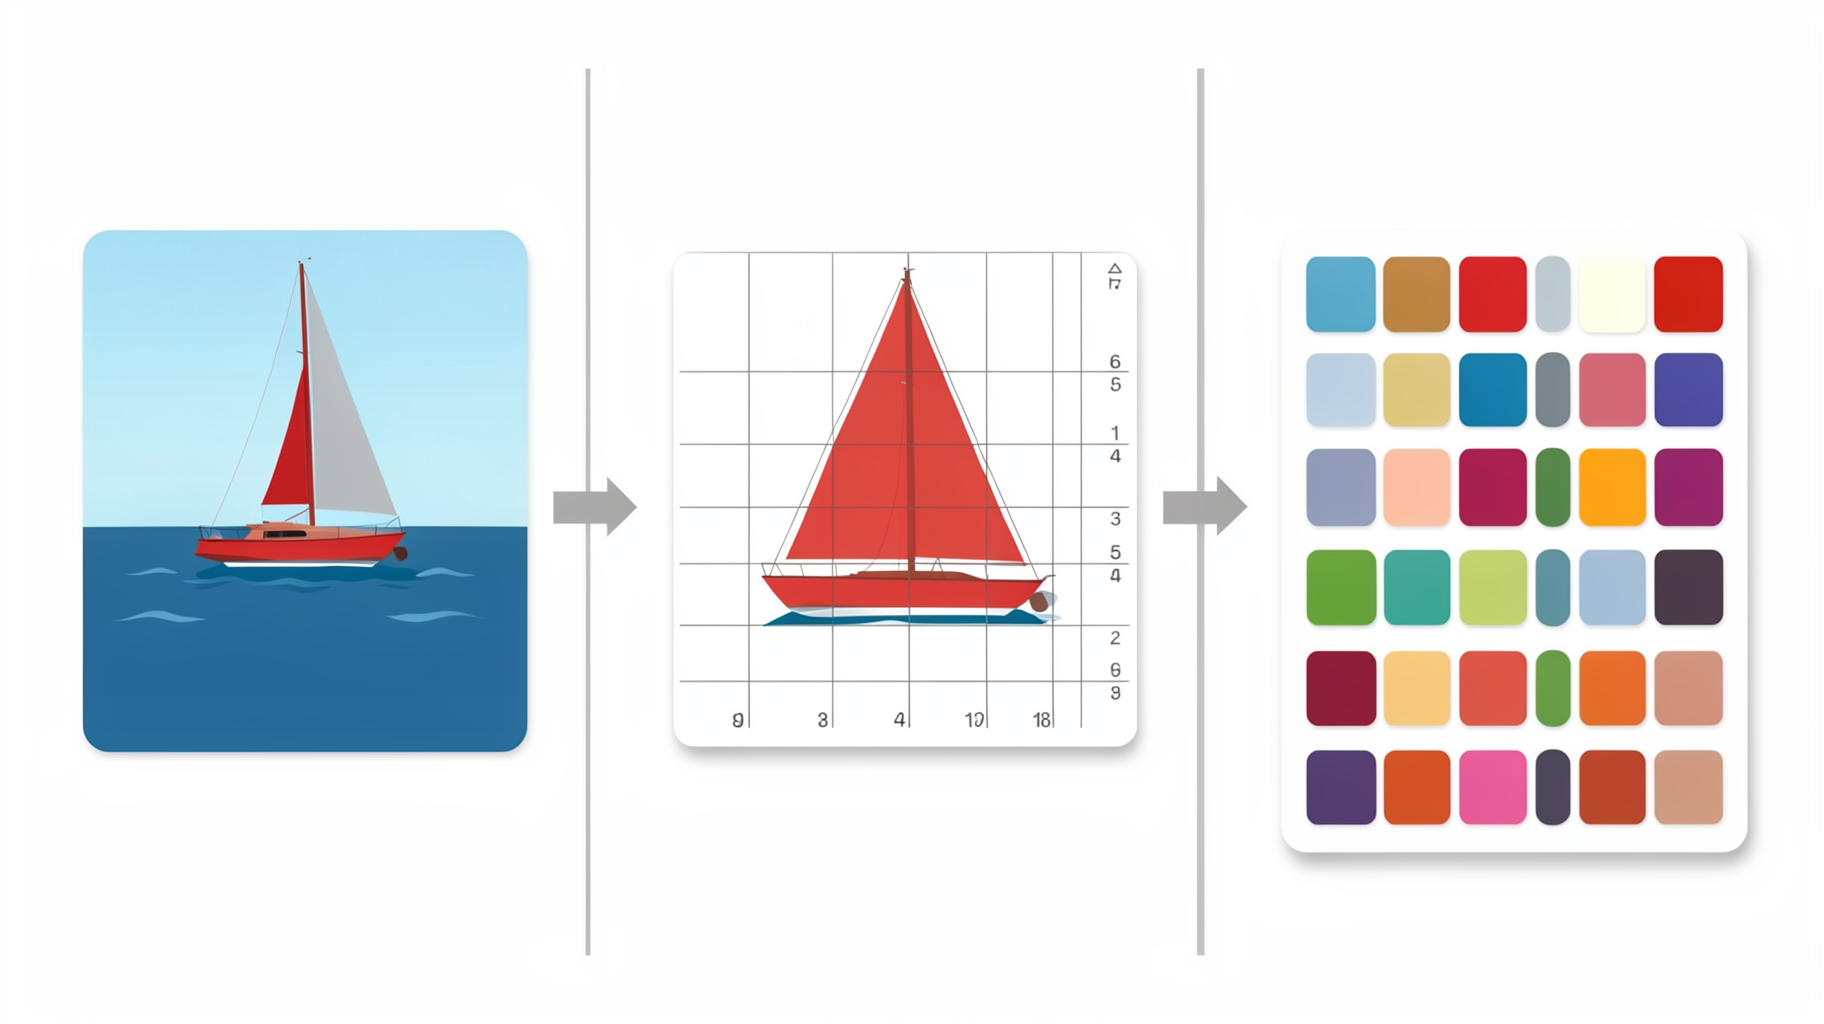
- The photo is reduced to a limited palette. A phone photo contains millions of colours. The converter clusters them down to a handful — typically 8 to 24 — so that every pixel is snapped to the nearest one. This is the step that decides whether the result looks crisp or muddy, and it is why a bright, high-contrast photo beats a dim one every time.
- Regions or cells get numbered. Classic paint by number draws outlines around each colour region and drops a number inside. Mosaic-style conversion instead lays a grid over the picture and numbers each cell. Grid cells are better for young kids: every piece is the same size and shape, so there is no "this bit is too small for my brush" moment.
- You print two sheets and fill it in. One board with the numbers, one sheet of matching numbered pieces (or a paint palette, if you went the paint route). The child finds number 7, finds cell 7, presses the piece down. Repeat until the picture appears.
That third step is the whole activity. Matching a number to a number needs no drawing skill at all, which is exactly why it works for a four-year-old who would be defeated by a colouring book.
Choosing your photo: what converts well and what doesn't
The single biggest predictor of a good result is the photo you start with, not the tool.
Works well: one clear subject filling most of the frame, strong light, a plain or simple background, bold colour differences. A pet on a lawn. A child's face against a wall. A red bike on grey pavement.
Works badly: group photos, busy backgrounds, dim indoor shots, anything where the subject is the same colour as what's behind it. Fine detail — individual hairs, fence wire, small print — disappears completely at any sensible piece count, so don't pick a photo whose charm lives in the details.
If you can, crop tight before uploading. Every converter is deciding how to spend a limited number of colours and cells; a tight crop spends them all on the thing you care about.
How many colours and pieces should you pick?
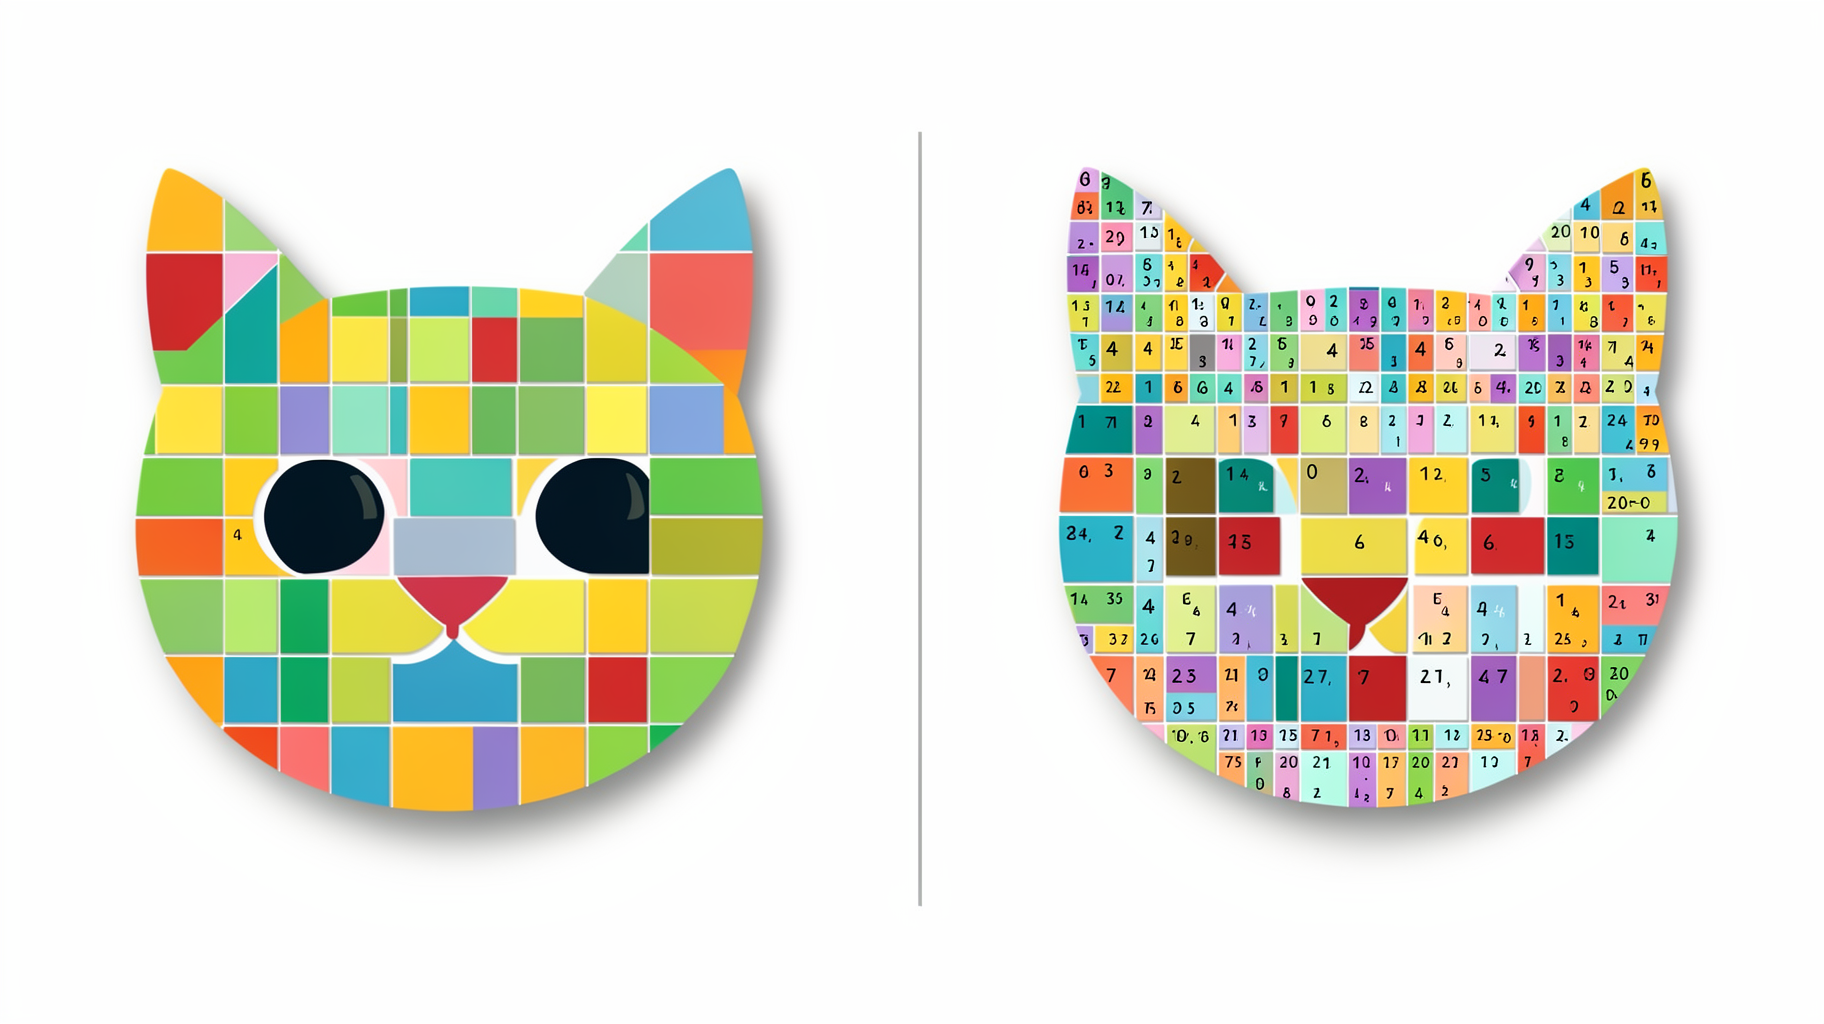
More colours means a more faithful picture and a much longer, fiddlier job. Fewer colours means a bolder, poster-like result that a child can actually finish in one sitting. A rough guide by age:
- Ages 4–6: 6–10 colours, 50–120 pieces, about 20 minutes. Big pieces, chunky shapes.
- Ages 7–9: 10–16 colours, 150–300 pieces, 30–45 minutes.
- Ages 10–12: 16–24 colours, 300–600 pieces, an hour or more, ideally across two sittings.
- Adults: 24 colours and up if you want something that reads as a real portrait.
The most common mistake is picking a high colour count because the preview looks better. The preview always looks better. The finished picture only exists if someone gets to the end of it.
The version your child can play before you print anything
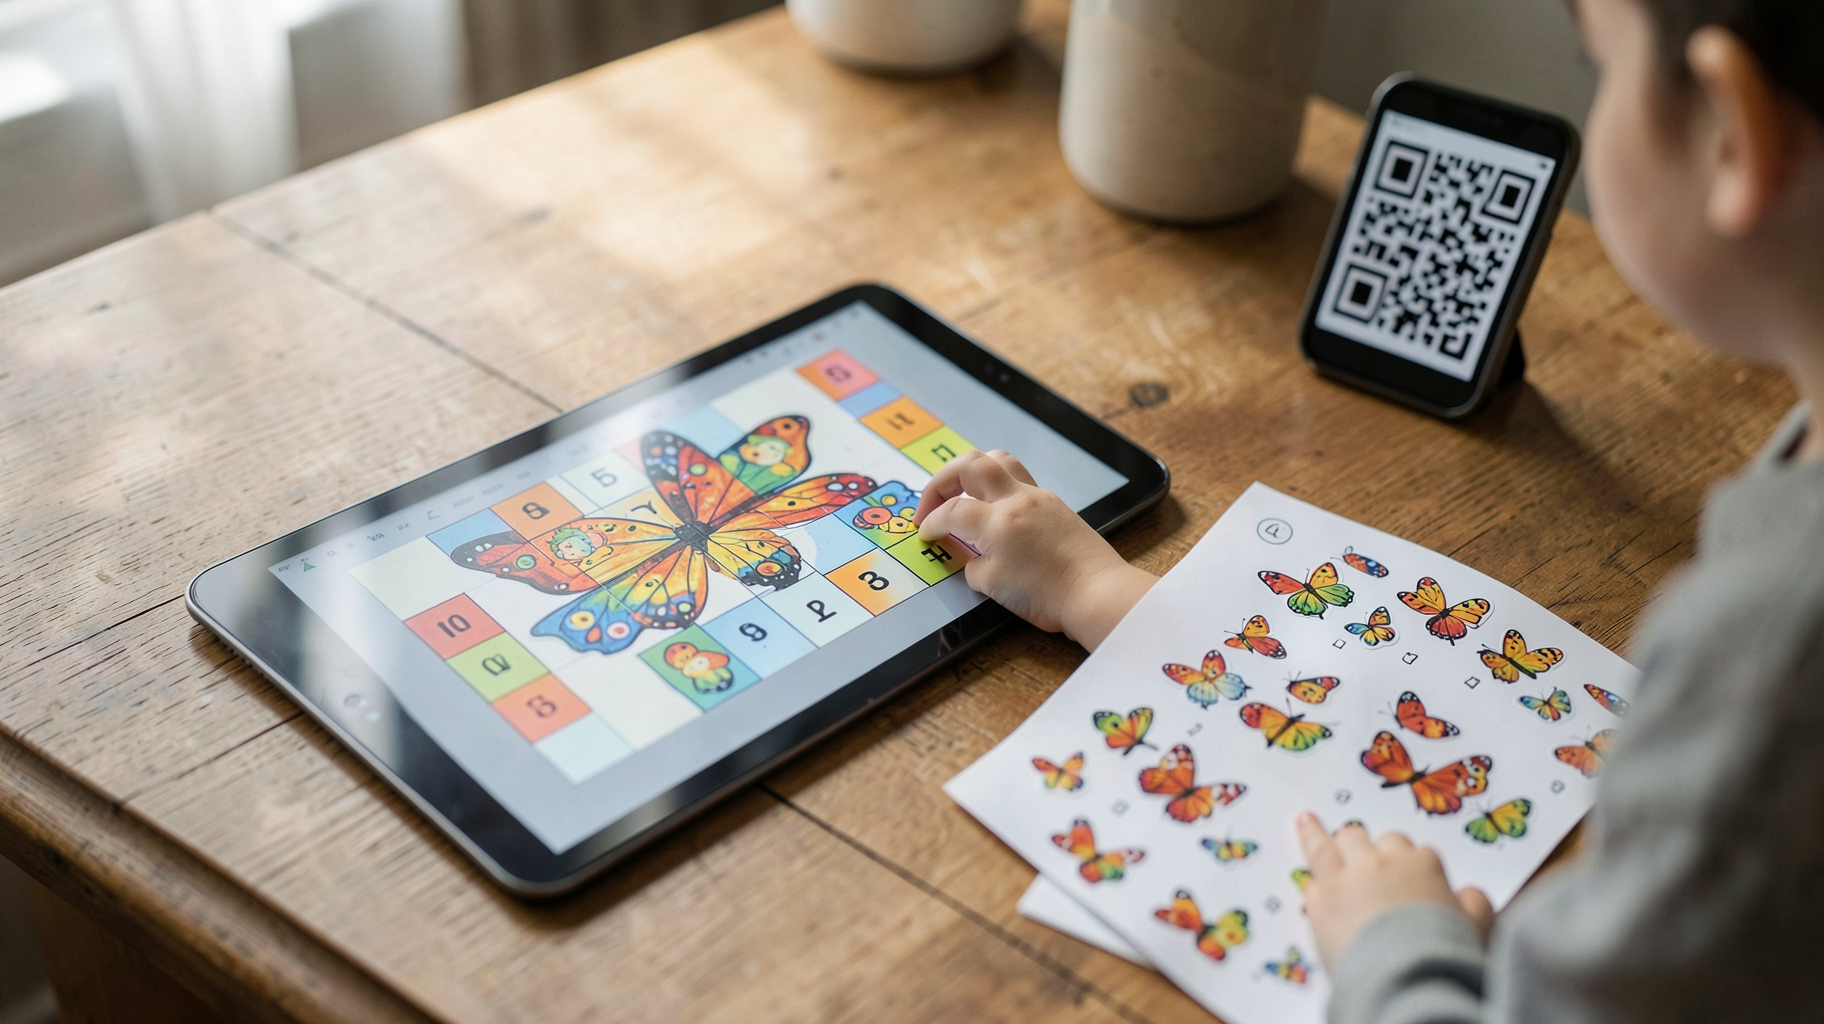
QrdyCraft is built around how craft evenings actually run: the parent creates, the child plays. You upload the photo, choose the piece count, and get two outputs at once — a printable board plus sticker sheet, and an online version your child fills in by dragging pieces with a finger.
That second output changes the routine more than it sounds like it would. A half-finished mosaic can be picked up tomorrow instead of living on the dining table. You can test a photo on the screen before deciding whether it is worth the sticker paper. And because every mosaic gets its own link and QR code, you can text one to a grandparent, drop it in a class group chat, or tape the QR code inside a birthday card so another child can play the same puzzle at home. Printable-outline converters cannot do any of that.
The free tier is 100 mosaics a month — more than one a day, which is more than any family gets through. If you would rather start from a ready-made shape than a photo, there are a few hundred in the gallery, including a corgi and a kitten.
👉 Turn your first photo into a mosaic free at craft.qrdyai.com — no paint, no cleanup, ready in about two minutes.
Printing it at home without a headache
Print the board on ordinary paper and the pieces on full-sheet adhesive sticker paper — a pack of 25 sheets runs about $10, so roughly 40 cents per mosaic. Print both sheets at the same scale, or the numbers will not line up.
For children under six, cut the pieces out yourself in advance. Cutting is the step that turns a lovely craft into a meltdown, and it is much less painful if you do it while they are not watching. If you would rather skip sticker paper altogether, print both sheets on plain paper and use a glue stick.
For more on the format itself, see What Is a Mosaic Sticker Book?, or Paint by Sticker vs Paint by Number if you are still deciding between the two formats.
Frequently asked questions
How do I turn a photo into a paint by number?
Upload the photo to a converter, choose how many colours you want (8 to 24 is the useful range), and let it reduce the image to flat colour areas and number them. You then print the numbered board and fill it in with paint or with numbered stickers. The whole process takes about two minutes.
Is there a free way to turn a photo into paint by numbers?
Yes. PBNify and Davincified both generate a printable numbered outline free, and paint-by-number.com has a free generator that upsells a physical kit. QrdyCraft's free tier is 100 mosaics a month and adds an online drag-and-drop version of the same design with its own link and QR code.
What kind of photo works best for paint by numbers?
One clear subject filling most of the frame, bright light, a simple background, and strong colour contrast between the subject and what is behind it. Group shots, busy backgrounds and dim indoor photos convert badly, because fine detail disappears at any realistic piece count.
How many colours should a paint by number have?
For ages 4 to 6, use 6 to 10 colours and 50 to 120 pieces so it can be finished in about 20 minutes. Ages 7 to 9 handle 10 to 16 colours, and ages 10 to 12 can manage 16 to 24. Adults who want a portrait-quality result should go 24 and up.
Can I print a paint by number at home?
Yes. Print the numbered board on ordinary paper. If you are using stickers rather than paint, print the pieces on full-sheet adhesive sticker paper, which costs roughly $10 for 25 sheets. Print both sheets at the same scale so the numbers line up, and cut the pieces out in advance for children under six.
Can you turn a photo into a paint by sticker instead of paint?
Yes, and it is usually the better choice for children under eight. The same conversion produces a numbered board plus a sheet of numbered peel-and-place stickers, so there is no water, no drying and no cleanup, and a mistake is fixed by peeling the sticker off and placing it again.